By Vicky Burtis
October 23, 2026
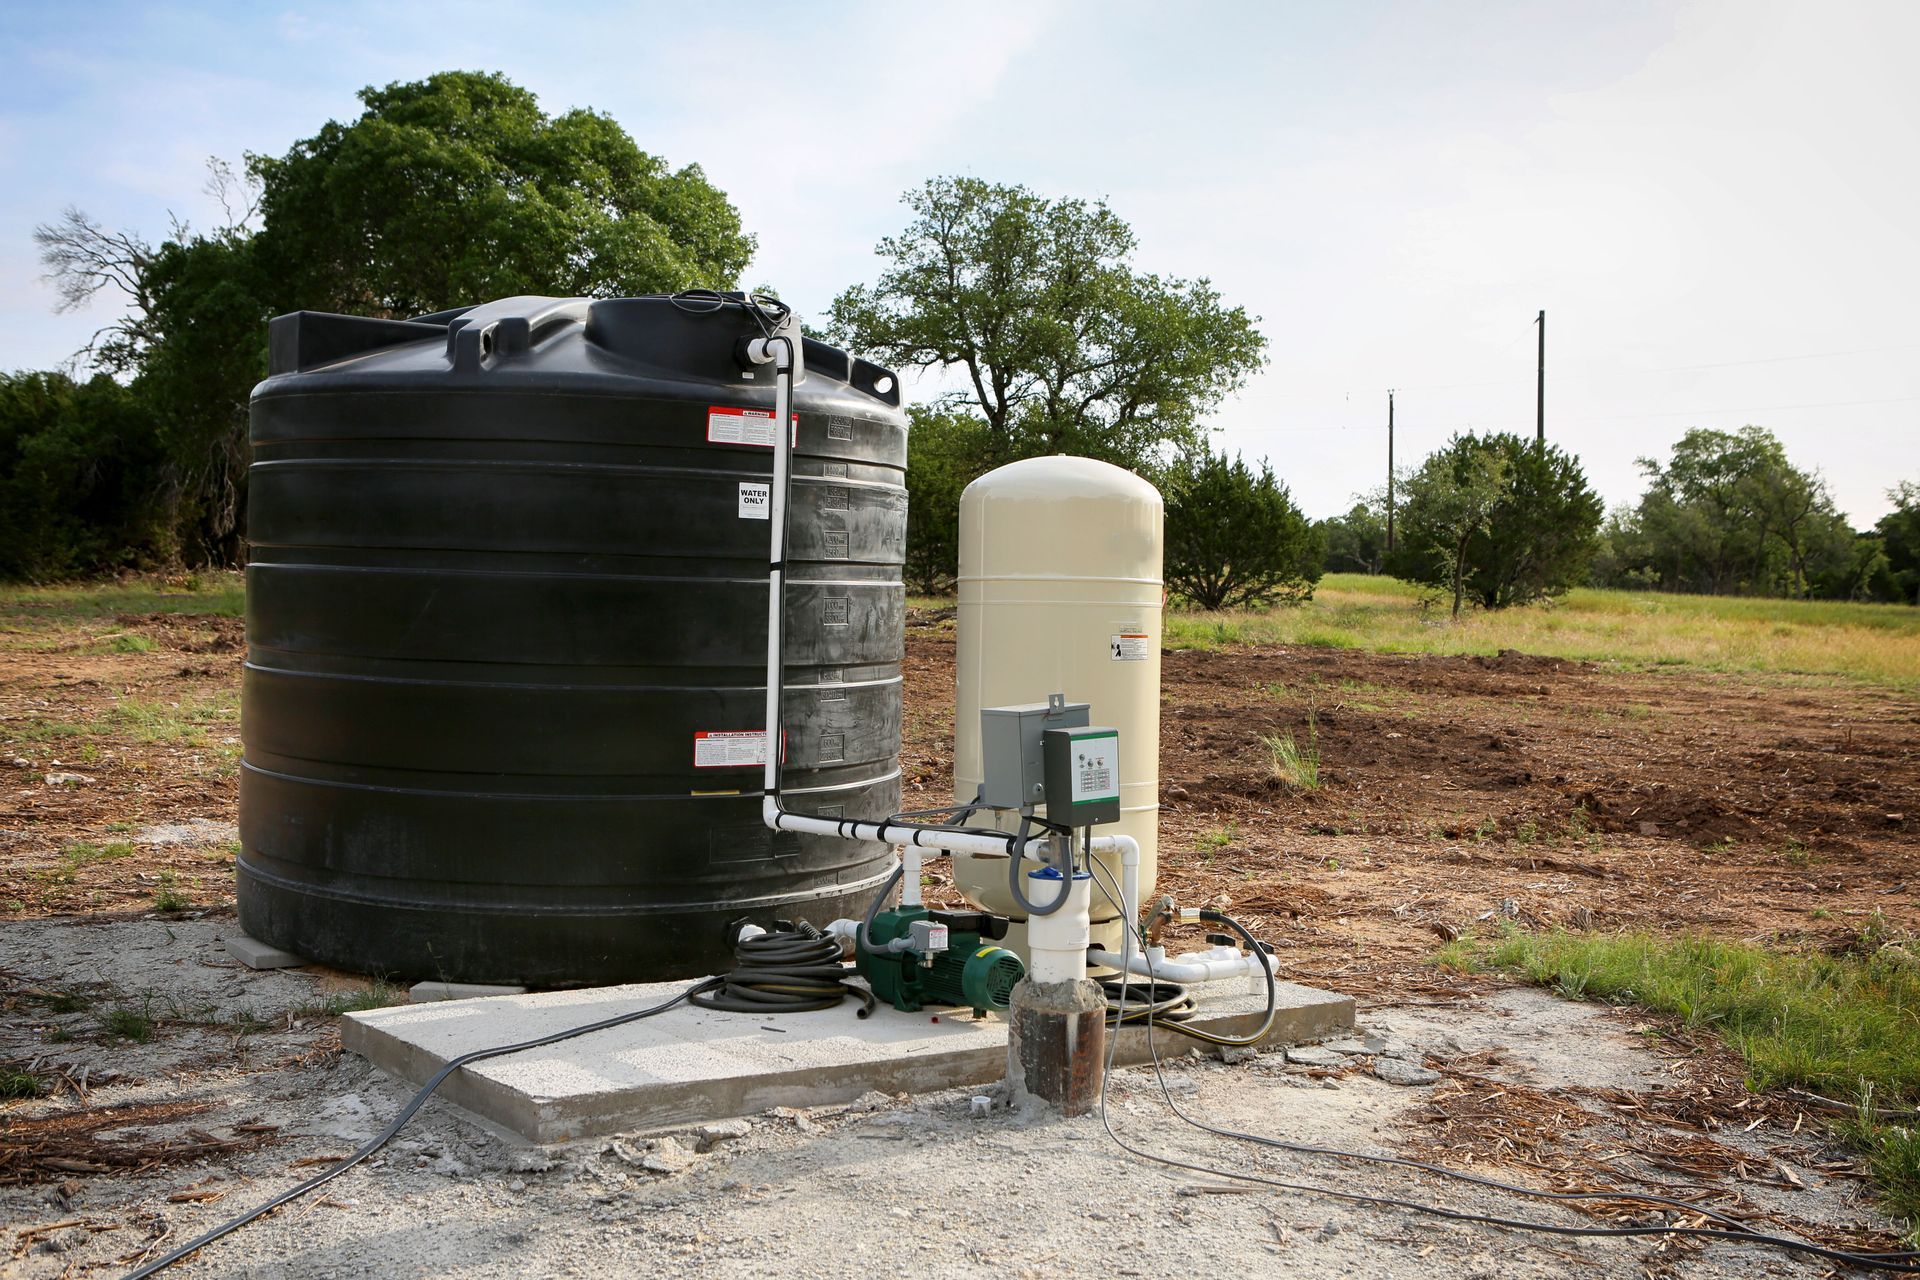
For millions of suburban and rural homeowners, a private well system is the foundation of household comfort, providing fresh water for drinking, cooking, bathing, and outdoor irrigation. Unlike municipal water supplies that arrive under constant pressure from city mains, a private well relies on two critical mechanical components: the submersible pump and the well water pressure tank.
When properly designed, installed, and maintained, submersible pumps and pressure tanks provide decades of quiet, trouble-free service. However, because these components operate out of sight underground and inside utility closets, they're often neglected until water pressure drops or the pump fails. Understanding how these components work together, recognizing early signs of failure, and scheduling professional routine maintenance—which includes pairing your system with a whole house filtration setup—will protect your plumbing investment and ensure uninterrupted water flow.
Understanding the Core Components of a Well Water System
Understanding how each major component operates helps streamline professional maintenance and prevents unexpected plumbing emergencies
.
1. The Submersible Pump
Located deep inside the well casing, the submersible pump contains a sealed motor and impellers that push water upward through the drop pipe. Because the pump motor is submerged hundreds of feet below the surface, it operates quietly and relies continuously on surrounding groundwater for thermal cooling during pumping cycles.
2. The Pressure Tank
Because a pump cannot run continuously without motor burnout or cycling rapidly, the pressure tank acts as a storage reservoir. Inside, a rubber diaphragm separates compressed air from water. As water fills the tank, air compresses; when a tap opens, this compressed air forces water through household pipes without cycling the pump for small demands. Properly operating pressure tanks prevent well pump cycling (on and off rapidly).
3. The Pressure Switch
Mounted on the pressure manifold, the pressure switch monitors tank pressure. When pressure drops to a low cut-in point (typically 30 or 40 PSI), the switch starts the pump. Once pressure reaches the cut-out threshold (typically 50 or 60 PSI), the switch shuts the pump off.
The Role of Water Treatment
Raw water quality drawn from the aquifer directly impacts the lifespan of your mechanical equipment.
Untreated well water containing minerals, iron, manganese, and sediment can create scale buildup across plumbing lines. Integrating a whole house filtration system immediately downstream of the pressure tank safeguards internal valves, appliances, and fixtures from abrasive sediment and corrosive mineral scaling in the home. Generally, no Filter should be installed before the pressure tank.
Furthermore, when sediment accumulation is high, having a professional install a heavy-duty sediment pre-filter prior to your whole house filtration equipment ensures that sand does not pass into treatment controls and the home. Protecting your treatment equipment with adequate whole house filtration keeps the entire residential plumbing ecosystem operating at peak mechanical efficiency.
Professional Maintenance and Inspection Guidelines
While submersible pumps and pressure vessels are sealed systems that require licensed technician intervention for repairs, recognizing operational changes allows homeowners to request timely service.
Monitoring Pump Cycle Behavior
Short-cycling—a dangerous mechanical condition where the pump turns on and off rapidly—overheats the electrical motor, causes severe voltage surges, and leads to premature capacitor failure. A healthy system runs continuously for 60 to 90 seconds during demand. Rapid cycling usually indicates a waterlogged tank or failing pressure switch that requires professional calibration or replacement.
Professional Amperage and Electrical Diagnostics
A licensed technician uses a clamp-on multimeter to measure the electrical current (amperage) drawn by the pump motor. Comparing this reading to the manufacturer's Full Load Amps rating identifies mechanical friction, bearing wear, or voltage drops before the pump motor experiences complete electrical burnout.
Protecting the Well Head Structure
Visual inspections of the above-ground well cap should be conducted periodically. Ensuring the rubber sanitary seal remains tight, verifying the air vent screen is intact to prevent insect nesting, and confirming the surrounding ground slopes away from the well casing prevents surface runoff from pooling near the well head and contaminating the groundwater.
Professional Pressure Tank Calibration and Servicing
Maintaining proper air pre-charge pressure inside the pressure vessel is vital for smooth operation and preventing bladder failure. Because adjusting pressure tanks involves high-voltage power isolation and precise pneumatic calibration, servicing should be handled during professional maintenance visits.
How Technicians Diagnose and Calibrate Pressure Tanks
Over time, compressed air naturally diffuses through rubber bladders, causing a gradual drop in pre-charge air pressure inside the pressure tank. If air pressure drops too low, the bladder stretches excessively, eventually tearing and causing the tank to become waterlogged.
Certified well technicians perform the following protocol to test and calibrate pressure tanks safely:
- Power isolation: Technicians safely disconnect and lock out the main electrical circuit breaker inside the service panel supplying power to the well pump motor.
- System depressurization: A drain valve is opened to empty all stored water until the system pressure gauge reads 0 PSI and flow ceases entirely.
- Pneumatic testing: Technicians access the Schrader valve on top of the pressure vessel and measure the static air charge using calibrated gauges.
- Pre-charge calibration: The air pre-charge must be set precisely 2 PSI below the pressure switch cut-in setting (e.g., 28 PSI for a 30/50 PSI switch). Precharge may be adjusted depending on pressure switch quality and pressure tank.
- System evaluation: Compressed air is added if the charge is low. If water discharges from the air valve during testing, the internal rubber diaphragm has ruptured, and a licensed contractor must replace the tank.
- System recommissioning: Technicians close the drain assembly, restore electrical power, and monitor the pump cycle to ensure proper cut-in and cut-out operations.
Protecting Plumbing Fixtures and Treatment Media
Maintaining a healthy well pump and pressure tank ensures stable water flow, but consistent water quality relies on proper media management. High concentrations of dissolved iron, manganese, and hardness minerals in untreated well water will coat internal pressure switch contacts, calcify heating elements inside water heaters, and restrict fixture aerators.
Installing a comprehensive whole house filtration setup prevents dissolved iron, manganese, hydrogen sulfide gas, and abrasive particulate matter from circulating through household plumbing lines. When selecting a system, ensure it is sized correctly by a certified water treatment specialist to match the peak flow rate of your submersible pump and pipe size. If a whole house filtration unit is too restrictive, it will cause an excessive pressure drop across the home.
Regularly backwashing your whole house filtration media flushes away accumulated sediment and oxidized iron, protecting downstream plumbing fixtures, water heaters, and appliances while maintaining consistent water pressure from the pressure tank all the way to upper-floor showers. Integrating whole house filtration into your overall well system maintenance routine guarantees long-term water quality and equipment longevity.
Troubleshooting Common Well System Indicators
Recognizing early warning signs allows you to call for professional service before suffering a complete loss of water supply:
- Pump turns on and off rapidly: Indicates a waterlogged pressure tank. A certified technician will test tank air pressure with the system fully drained, adjust the charge, or replace the tank if the bladder has ruptured.
- Water pressure fluctuates wildly during showers: Indicates worn pressure switch contacts or miscalibrated tank pre-charge pressure requiring professional recalibration.
- Sputtering faucets (air in lines): Caused by a failing pump check valve, low well water table, or leaking suction pipe. Requires diagnostic evaluation by a licensed well contractor.
- No water at any tap: Caused by a tripped circuit breaker, burned pressure switch contacts, or a failed pump motor requiring electrical diagnostic testing.
Addressing these warning signs at the first indication of trouble prevents minor mechanical discrepancies from compounding into catastrophic system failures. Partnering with a licensed well contractor ensures that diagnostic testing is performed safely, underlying causes are accurately identified, and your well system is restored to optimal efficiency before your household experiences a total loss of water service.
Maintaining a private well system relies on establishing a consistent professional inspection schedule to maximize the service life of your mechanical components. By combining professional pressure tank care, routine electrical monitoring, and proper water treatment, you can ensure reliable system operation, maintain clean, high-pressure water, and protect your plumbing infrastructure for decades to come. As a family-owned master plumbing and electrical contractor with over 45 years of experience, WQA-certified specialists, and state-certified operators, contact the experts at Water Doctor today to schedule your well system inspection and professional water test.